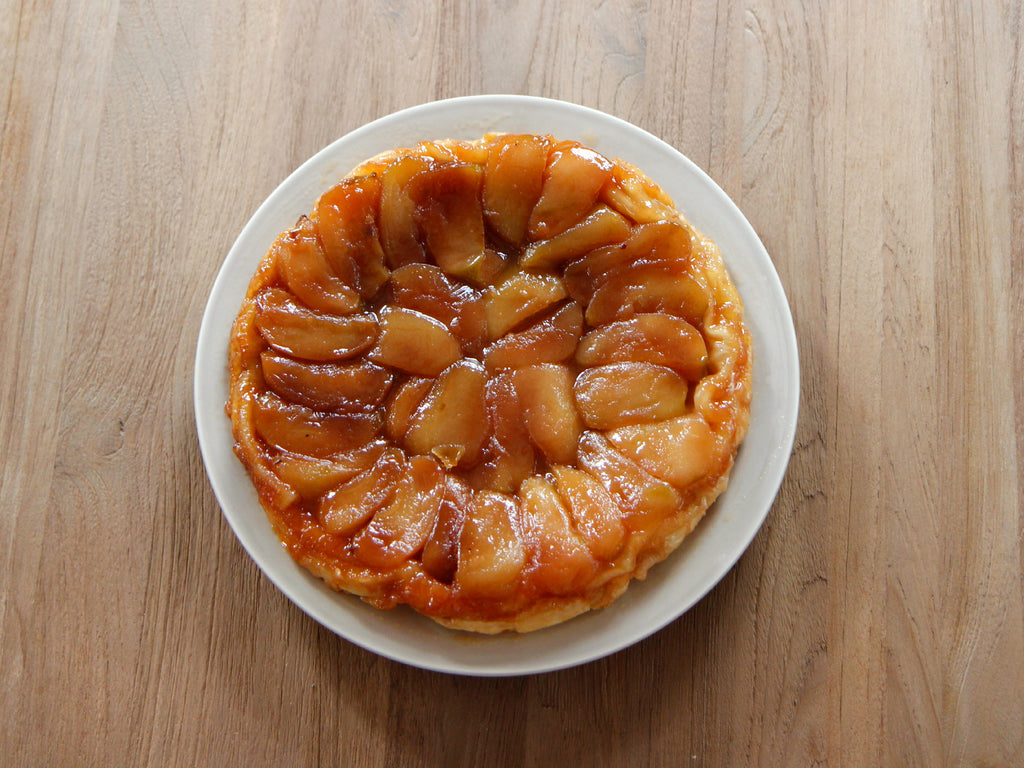
The French really have the whole fine living thing figured out. Delicious fresh food. Fine wine. Stunning art and architecture. Ridiculously gorgeous haute couture. And they can even sometimes manage to stumble upon this stuff by accident. As the story goes, sisters Stephanie and Caroline Tatin invented the tarte tatin, an upside-down caramel apple tart, at their hotel while trying to make a regular old apple pie. After burning the filling by mistake, they served the caramelized apple dessert to guests anyway, and it was a big hit. The rest, as you say, is history.
I love making this dessert because not only is it seriously tasty, but it also has a visual wow factor with the apples prettily arranged around the top. The best part? It’s very fast to put together, requires little actual baking skill and is incredibly forgiving if you’re prone to making mistakes. You can smugly tell your guests you slaved for hours over this one while they “oooh” and “ahhh” over your efforts. I won’t tell, I promise.
You can use any type of firm apple, but I like to use granny smiths because the tartness gives a nice contrast to the sweet caramel. Golden delicious or gala apples work well too; you just need something that won’t dissolve into applesauce after cooking. You can use other fruits like pears, peaches or plums to change it up. Using salted butter or adding some sea salt to the mix is also a nice touch to make this a salted caramel treat.

I’ll admit it right now – I cheat shamelessly by using frozen filo pastry. You can substitute with your favourite tart crust recipe, but really, what’s better that crispy, flaky, melt-in-your-mouth filo pastry? And who’s got the time to make that stuff from scratch? But if you can make a great tart crust, go for it. And send me a slice.
Serves 8 (usually, or 4 very hungry people)
Ingredients- 8-10 medium sized firm apples
- 150g granulated sugar (about 3/4 cup)
- 120g butter (about 4oz, use salted butter or add a few pinches of salt if desired)
- 1-2 sheets frozen filo pastry
Equipment
- A 20-25 cm (8-10 inch) oven-proof skillet or round pan (a well seasoned cast iron skillet or stainless steel version will do)
- Baking paper
Instructions
- Preheat oven to 190 °C (375 °F)
- Prepare your filo pastry by rolling it out onto some baking paper. Place your pan on top and cut a circle about 2-3 cm larger than the top of your pan on all sides. If the sheet isn’t big enough, you can piece a couple of sheets together by pressing them together with your fingers. Just make sure that the sheets are smooth and the same thickness at the joins. Place the sheet into the fridge and chill.
- Peel, quarter and core the apples (don’t cut them any smaller than quarters or else everything will cook down into a gooey mess)
- Melt the butter in the skillet over low heat, being careful not to burn the butter. Remove from heat and slowly stir in the sugar until well blended. It will still look quite lumpy and grainy.

- Spread the butter-sugar mixture evenly over the bottom of the skillet. Arrange the apples around the pan in circles starting from the outside. Place them on their sides and overlap the slices to pack in as many as possible. Make sure you have a few extra pieces left for later.
- Return the pan to high heat and boil for 10-12 minutes until the juices turn from gold to a dark amber colour. Remove from heat.

- Gently flip the apples with tongs or a knife, keeping them in the same place so you don’t mess up your design. If the apples have shrunk, place some of the reserved apple slices into the pan to fill the gaps. Don’t worry, everything will caramelize and no one will notice the difference. Return to heat and cook on high for another 5 minutes. Remove from heat.
- Remove your filo sheet from the fridge and lay it on top of your pan. Tuck the edge of the sheet between the edge of the pan and the apples with the help of a knife. Careful not to burn yourself. Poke a few small holes on the top of the pastry sheet to let the steam out.

- Bake for 25-35 minutes until the top of your pastry is golden brown. Remove from oven and cool on a rack for about 30 minutes.

- Run a sharp knife around the side of the tart. Place a serving platter on the top of the pan snugly and invert the whole thing, like how you would flip a Spanish tortilla. Be careful; it’s still hot. If you’re weak or clumsy and prone to dropping things, ask a stronger and more coordinated friend to do it for you. You might need to shake the pan a bit to get it to drop onto the plate. Pry off and replace any apples that have stuck to the pan. Et voila! There you have it. Upside-down caramel apple tart, French style.
- Serve with some vanilla or salted caramel ice cream if desired.


Make ahead: you can make the whole thing earlier in the day if needed (I haven’t tried keeping it overnight so unsure of the results.) Just leave it uncovered in the pan until serving time. Heat it on the stovetop for a few minutes to melt the caramel before trying to invert it.
You're welcome.